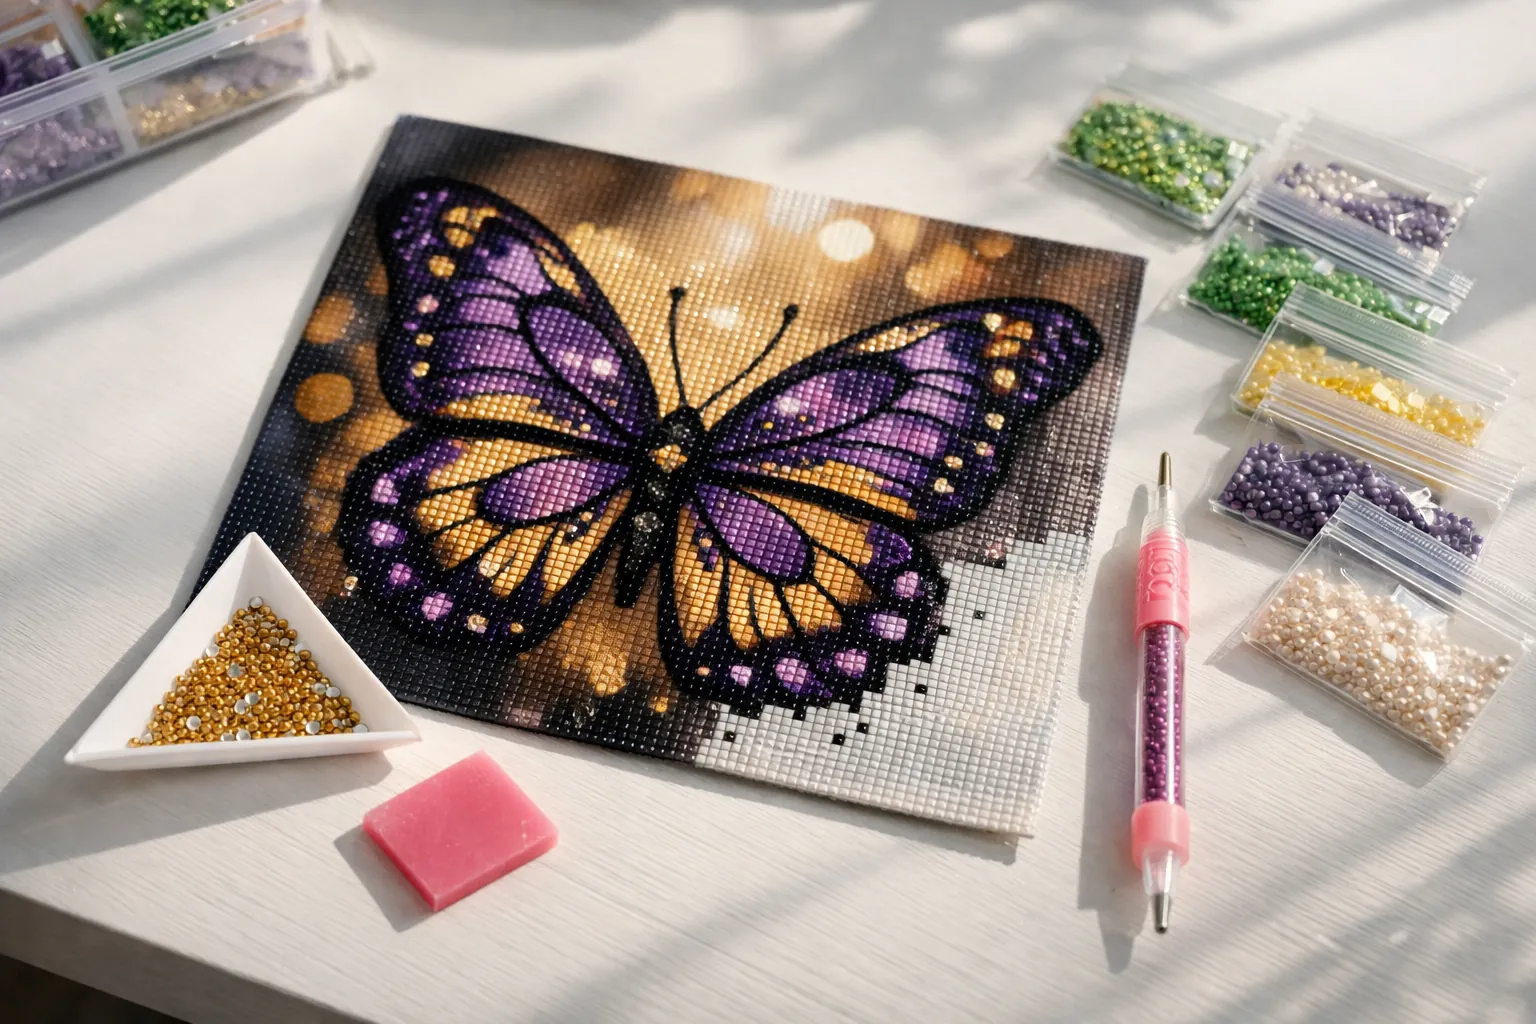
The best diamond painting tip for beginners is simple: work in small uncovered sections and keep the glue clean. Almost every beginner problem, from drills that won't stick to dusty, cat-hair-covered canvases, comes from peeling off too much film at once. Below are fifteen tips in the order you'll need them, from the day the kit arrives to the day you frame it, plus the handful of cheap tools that genuinely help.
Where these tips come from
These tips combine the standard technique printed in kit instructions with the tools and fixes experienced painters recommend most often. Where we recommend a product, it's one with strong Amazon sales and ratings on October 3, 2026, and we only describe features listed by the seller. We don't claim to have tested each tool ourselves. How we research.
Before you start
1. Flatten the canvas first
Canvases ship rolled or folded. Lay it flat, film side up, and put a few heavy books on it for a day or two. Creases make drills sit unevenly and can lift later. Do this the day the kit arrives so it's ready when you are.
2. Check the drills against the legend
The legend along the canvas edge lists every symbol and its drill number. Match each bag to the legend before you start. If a color is missing, message the seller right away: most budget sellers will send replacements, and some, like our top adult kit picks, promise it in the listing.
3. Set up good light
Symbols are tiny and printed in many colors, which is hard on the eyes in a dim room. A daylight lamp helps; a light pad under the canvas helps most because it lights the symbols from behind. The Ratukall A4 light pad kit, with about 2,000 bought last month, also includes storage boxes, trays and a roller, which covers several of the tips below.
4. Sort drills into containers
The little bags tear, and spilled drills of one color look like the next color. Pour each color into a labeled jar or slot. A case like the 64-jar storage organizer (more than 25,000 ratings) includes blank labels for drill numbers.
While you paint
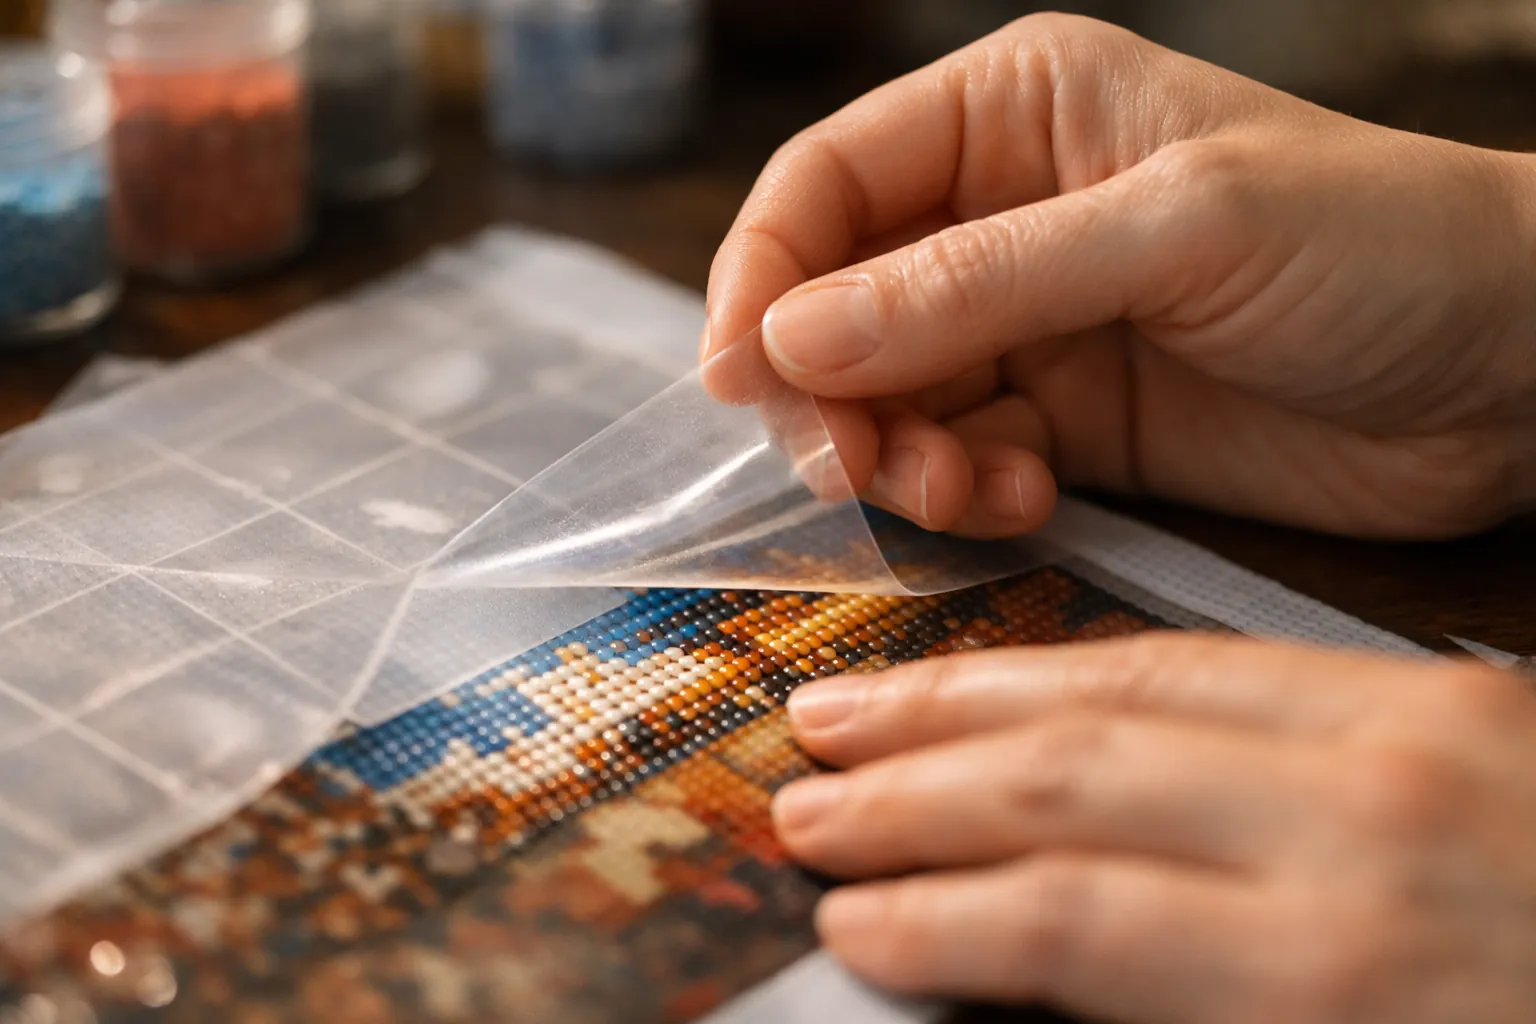
5. Peel back only a small section
Cut the film along a few inches, or fold it back in a strip, and work only there. When you stop, cover the bare glue again. This one habit keeps the canvas sticky and clean to the last drill.
6. Use release paper to cover gaps
If the film tears or you cut it into pieces, cut squares of non-stick release paper to cover exposed glue. The 200-sheet pre-cut release paper pack comes in 4 x 4 inch squares, so there's nothing to cut.
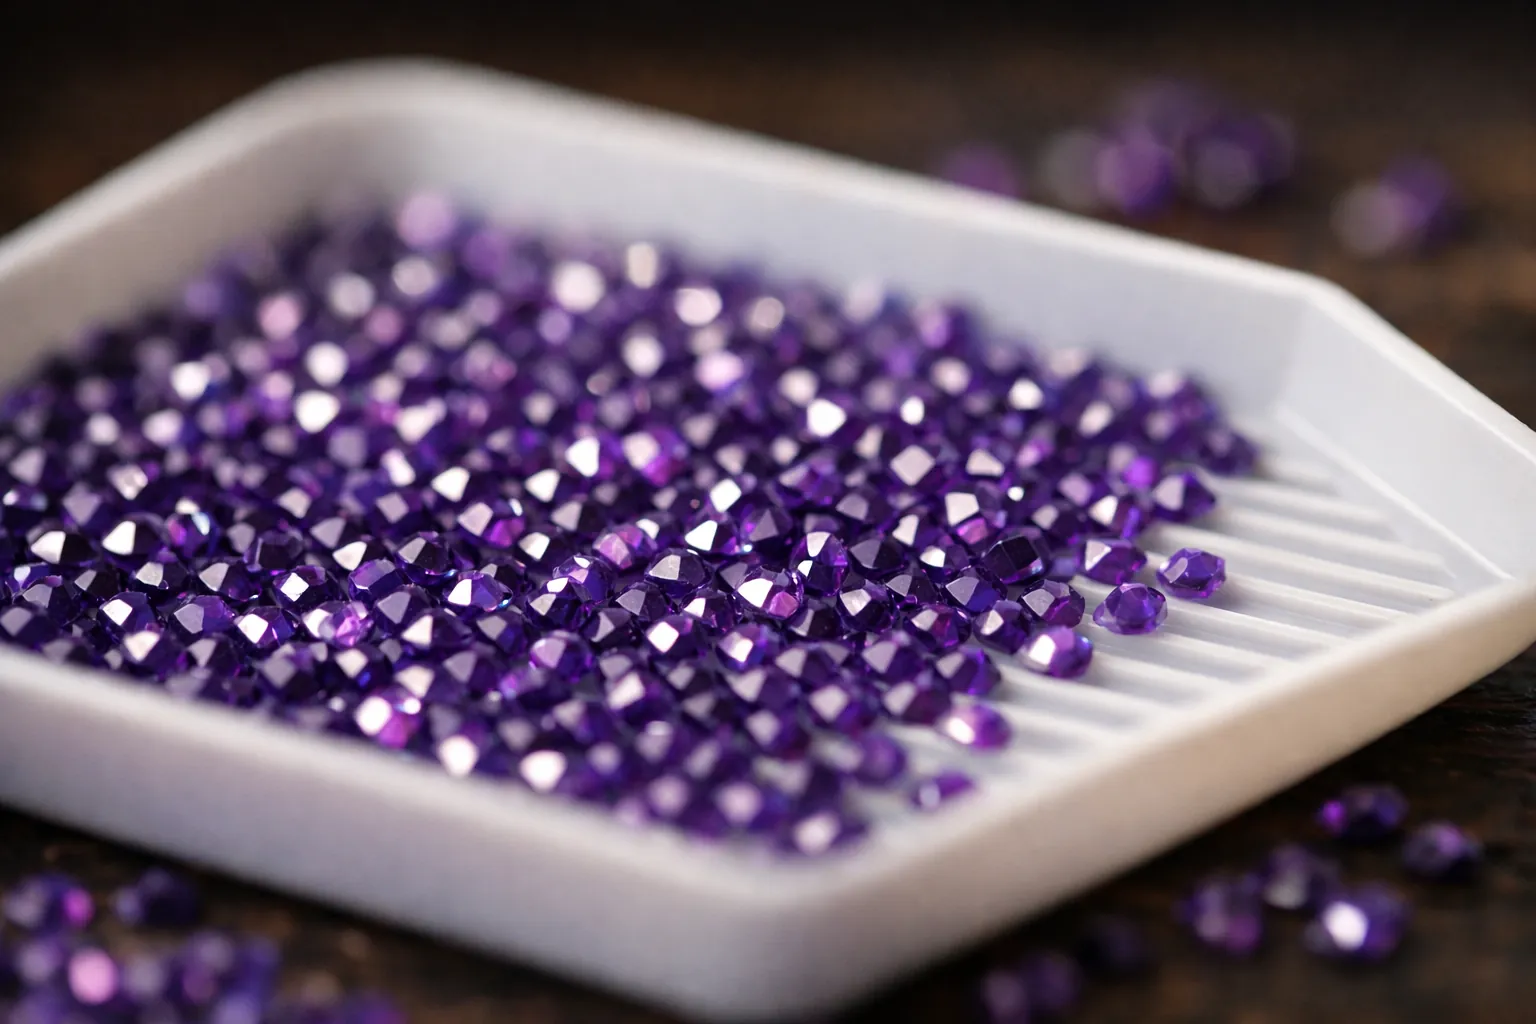
7. Pour a little, then shake the tray
Pour only a small amount of one color into the tray and give it a gentle side-to-side shake. The ridges in the tray flip most drills facet-side up so the pen can grab their flat backs. Overfilled trays don't flip properly.
8. Keep the pen tip waxed, and change the wax
Press the pen tip into the wax so a little fills the tip. When drills stop sticking, re-wax. When the wax gets fluffy or dirty, use a fresh piece, since lint in the wax ends up on the canvas. A refillable wax pen like the benote metal pen (about 4,000 bought last month) stores wax inside the barrel so you skip the separate square.
9. Use a multi-placer for big blocks
For large areas of one color, a multi-placer tip picks up three or more drills in a row. It's the biggest speed-up for beginners. Our diamond painting pen guide compares them.
10. Do one color at a time in a section
Place every symbol of one color in your working strip, then switch. It's faster than switching trays constantly and makes missed symbols easy to spot.
11. Pour back carefully
Most trays have a spout at one corner. Tip leftovers back into the right container immediately; mixed colors are the number one beginner frustration. Extra interlocking trays let you keep a few colors out without mixing.
Fixing common problems
| Problem | Likely cause | Fix |
|---|---|---|
| Drills won't stick | Dusty or dried glue | Keep sections covered; dab dust with a lint roller; very thin clear craft glue on dead spots (test first) |
| Drills pop off after placing | Not pressed down; creased canvas | Press with a roller or a book; flatten the canvas |
| Wrong color placed | Similar shades | Lift it with tweezers and re-place; double-check numbers under good light |
| Crooked rows | Normal with square drills | Nudge rows straight with a metal ruler or straightener while the glue is soft |
| Running out of a color | Spills, or short in the kit | Check the floor and tray first, then ask the seller for more |
| Pen won't pick up | Wax worn out or dirty | Re-wax, or replace the wax |
Finishing well
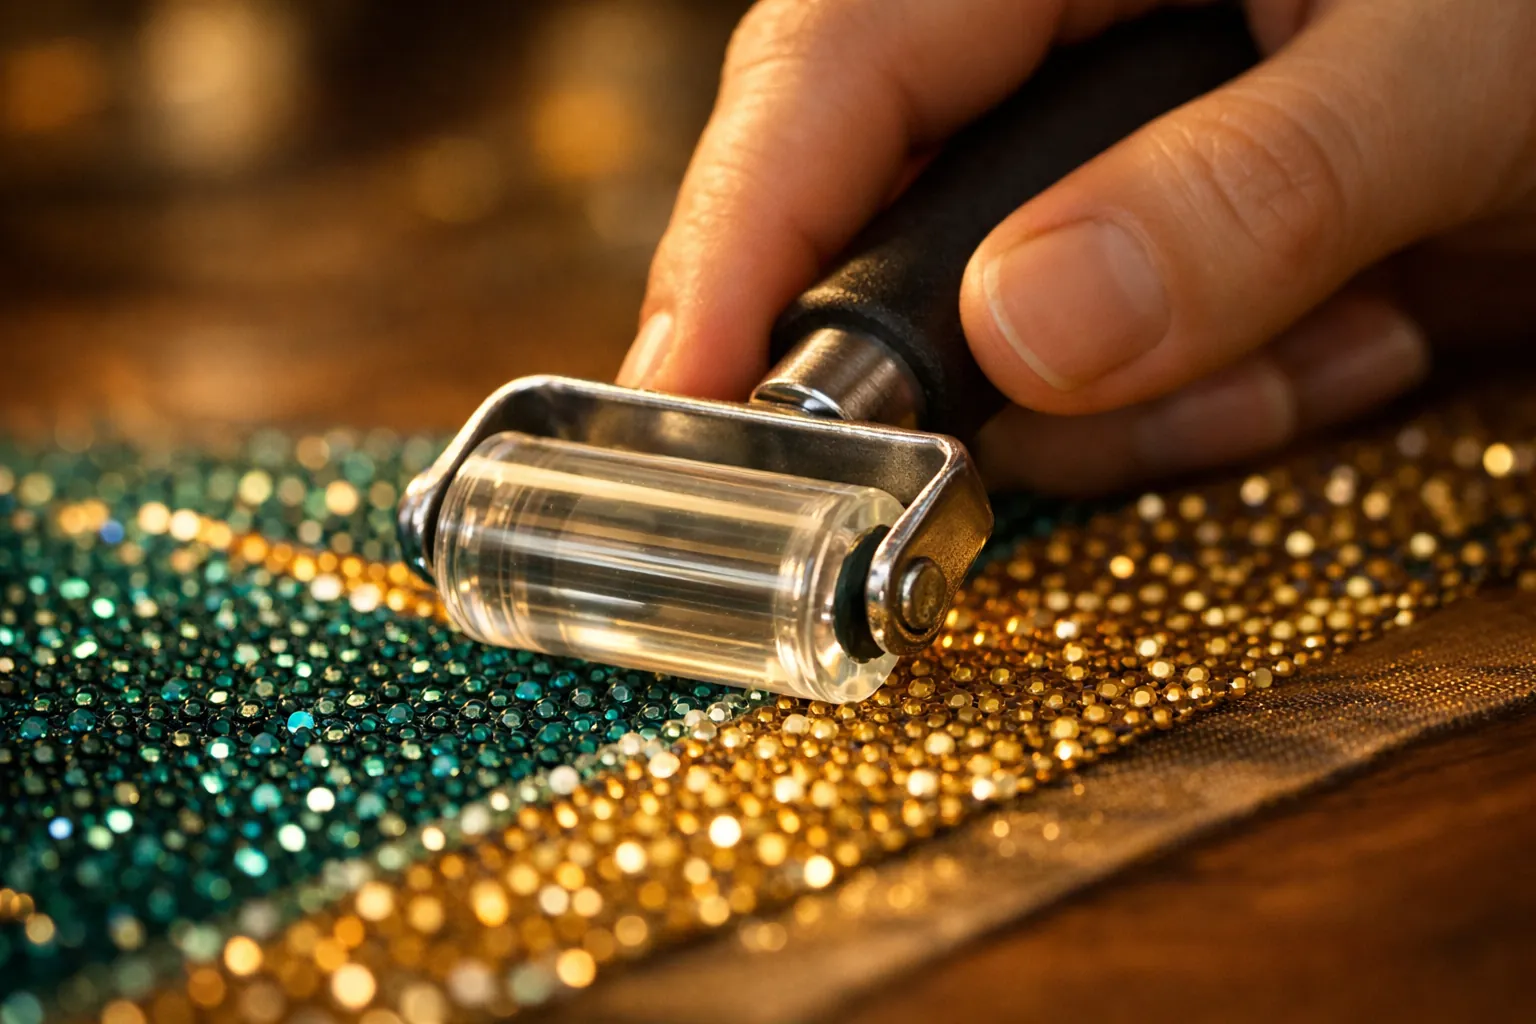
12. Roll as you go
Press finished sections with a roller to seat the drills firmly. A rolling pin or a heavy book works, but a small roller is easier to control. The 5D diamond painting roller holds 4.8 stars from more than 2,700 ratings. See our roller guide.
13. Check for missed spots
Hold the finished canvas at an angle under a light. Empty spots show up as dull dots. Fill them before sealing.
14. Decide whether to seal
Sealing is optional, but it locks drills in place and protects against dust, which matters for pieces that will be handled, rolled or hung in a kitchen. The Topwey sealer is Amazon's #1 diamond painting accessory, with about 10,000 bought last month. Our sealer guide covers brush-on vs spray.
15. Frame it so it gets seen
A finished painting deserves a wall. Our guide to framing diamond art covers frames, stretcher bars and the no-glass question.
The beginner starter cart
If you only add three things to your first kit, make it these:
- Light: Ratukall A4 light pad kit (light pad plus storage, trays and a roller).
- Pen: benote refillable wax pen.
- Storage: 60-slot storage case with pens, trays, wax and tweezers included, rated 4.8 stars by more than 31,000 buyers.
Still choosing a first kit? Start with our best kits for beginners, or see the full tools and accessories list.
Product details, sales and ratings come from Amazon listings checked October 3, 2026. Prices change often, so links show the current price on Amazon. How we research · Affiliate disclosure